- Updated:
Google Analytics Plugin
This section describes how to add and integrate Google Analytics plugin in your store.
To configure the Google Analytics plugin:
Go to Configuration → Widgets. The Widgets window is displayed:
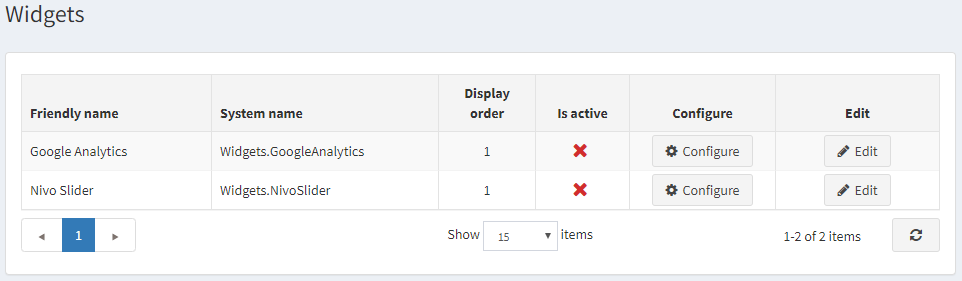
Click Edit beside the Google Analytics. The window is expanded, as follows:

Select the Is active checkbox, to enable Google Analytics plugin.
Click Configure. The Configure – Google Analytics window is displayed, as follows:
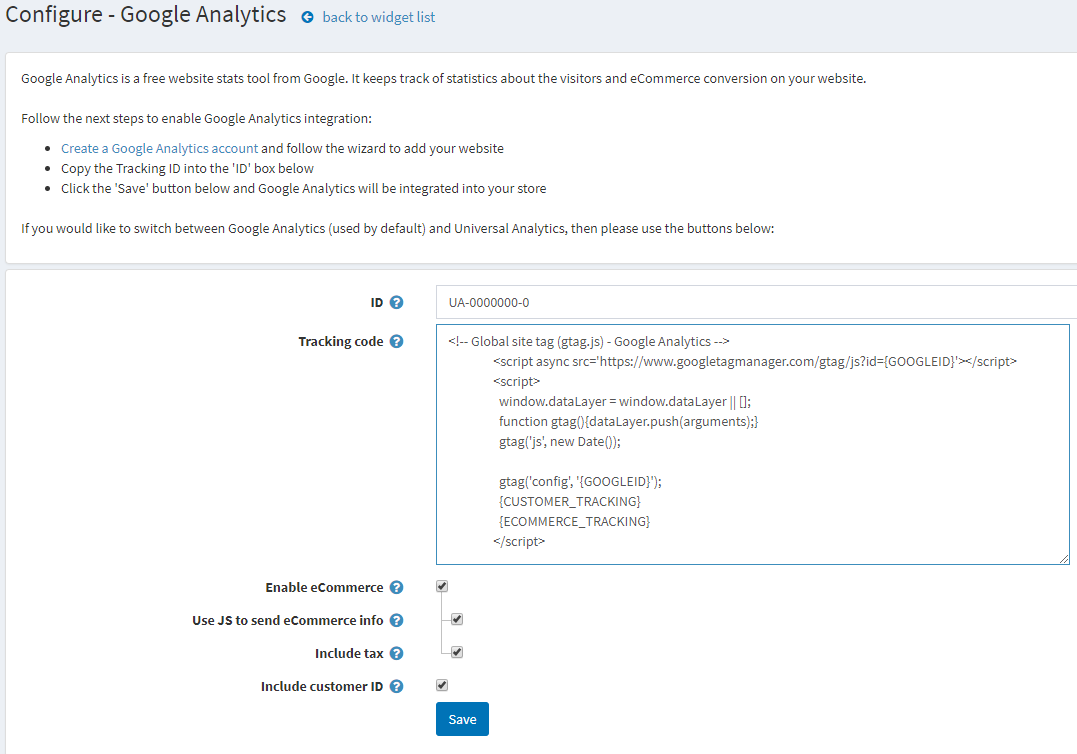
Perform the following steps to enable Google Analytics integration:
- Create a Google Analytics account at the following link http://www.google.com/analytics/ and follow the wizard to add your website
- Copy the Google Analytics ID into the ID box below.
- Check Enable eCommerce to pass information about orders to Google eCommerce feature.
- Check Use JS to send eCommerce info to use JS code to send eCommerce info from the order completed page. But in case of redirection payment methods some customers may skip it. Otherwise, e-commerce information will be sent using HTTP request. Information is sent each time an order is paid but UTM is not supported in this mode.
- Check Include tax to include tax when generating tracking code for eCommerce part.
- Check Include customer IDto include customer identifier to script.
- Click Save. Google Analytics will be integrated into your store.
Note
After a widget has been added, you can click Edit in the Widgets window beside the required widget to display the Edit Widget Details window and then edit the widget details, as described above.