- Updated:
Vendors
Vendors is a special category of customers that should be considered separately.
FStore has tools for multi-vendor and drop shipping that enable you to sell online without having to keep stocks or ship orders. In this case, each product is assigned to a particular vendor whose details (including email address) are stored.
When an order is placed an email is then sent to a vendor of each product in the order. The email includes the products, quantities, etc. The vendor ships the item to the customer on behalf of the merchant, who typically pays each of their vendors at the end of the month.
Products from multiple independent vendors appear in the common product catalog and your website visitors can shop at one web store even if your products are supplied by hundreds of different vendors from all over the world.
Each vendor could be provided with an administrator panel access to manage their products, review sales reports and order details regarding their products. Vendors can’t see each other's activities.
The money goes to the merchant account of the store administrator who then manually distributes funds among the vendors according to the order history, which is tracked and managed separately for each provider. In this manner, the customer only sees one charge from the main company.
The following procedure describes how to setup and provide a vendor record with access to the vendor portal site.
Set up a vendor account
Go to Customers → Vendors. The Vendors window is displayed:
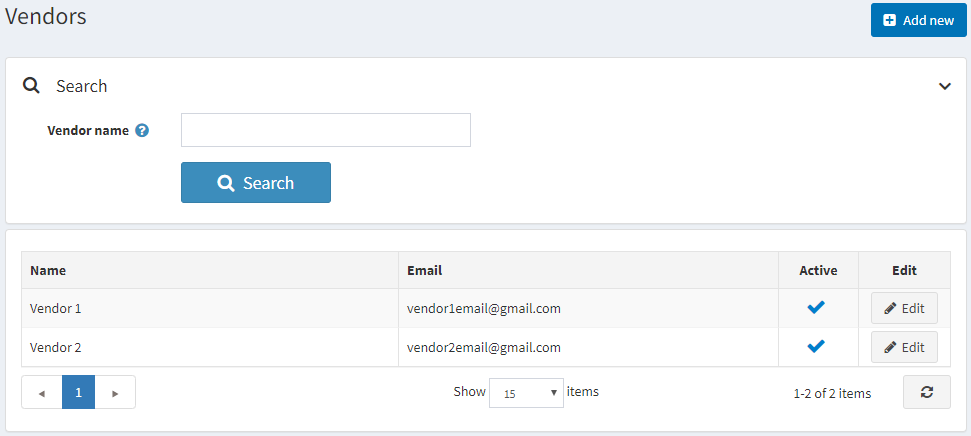
Click Add New. The Add a New Vendor window is displayed:
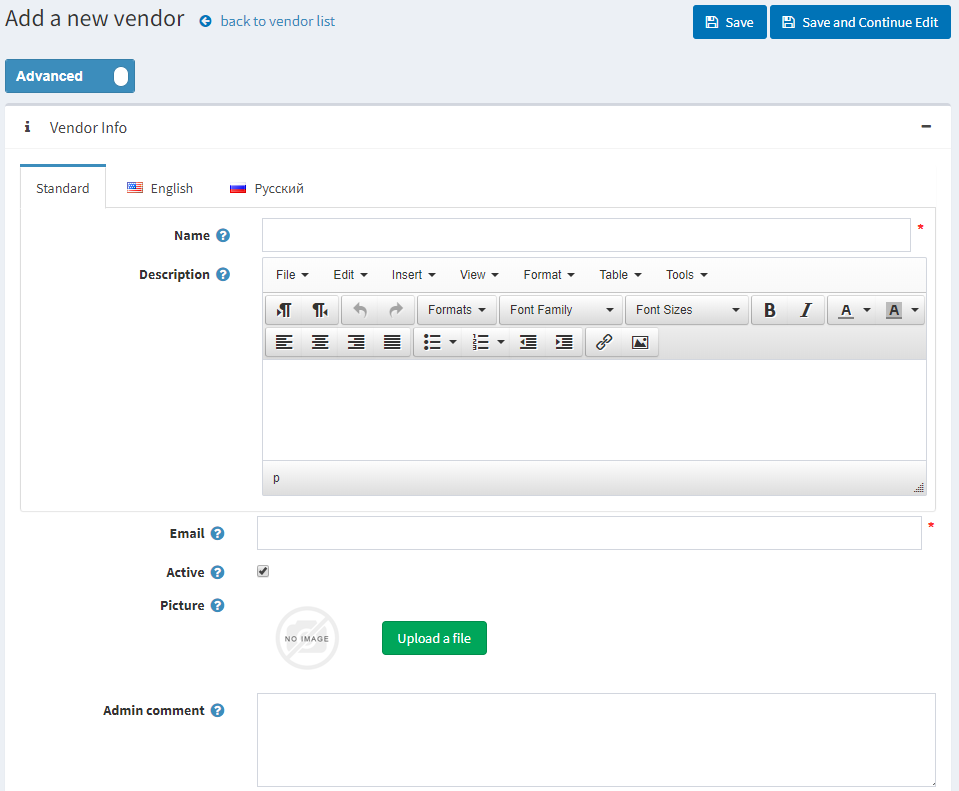
Define the following vendor’s details:
- Name of the vendor
- Description for the vendor
- Vendor's Email. “Order placed” notifications will be sent to this email.
- Tick Active checkbox to activate the vendor
Note
The appropriate message template is disabled by default, you can change it in Message Templates section
- Admin comment an optional comment or information for internal use
Vendor Attributes
A store owner able to create attributes for a vendor much like they can for a product. The vendor attributes would then be displayed on the Vendor Detail page in the public store. This would allow for Multi-Vendor stores to be able to collect and display to the customers more information about the vendor without having to try and format it in the Description field that is currently available.
On the Vendor attributes section, select Vendor attributes. Learn more about vendor attributes and how to create them here.

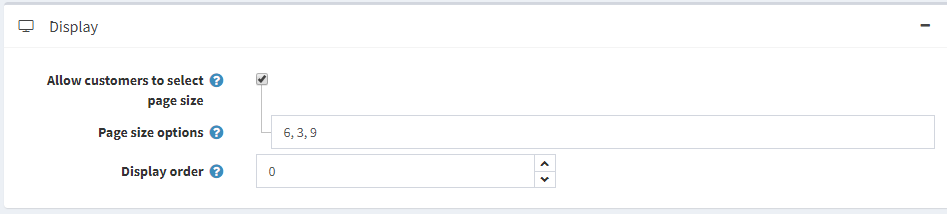
Display
On the Display panel, define the following Display parameters:
Define the following vendor’s details:
- To Allow customers to select page size from a predefined list of options
- Page Size options (comma separated)
- Display order of the vendor
SEO
On the SEO panel, define the following SEO parameters:
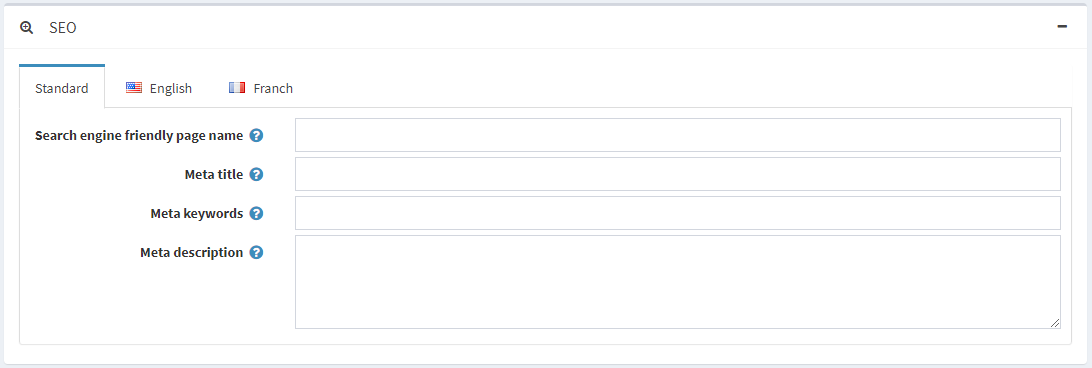
Meta keywords - required vendor meta keywords: a brief and concise list of the most important themes of this vendor’s page. The meta keywords tag takes the following form:
<meta name="keywords" content="keywords, keyword, keyword phrase, etc.">Meta description - a description of the vendor: brief and concise summary of your page's content. The meta description tag is in the following format:
<meta name="description" content="Brief description of the contents of your page.">Meta title - specifies the title of your Web page. It is a code which is inserted into the header of your web page and is in the following format:
<head>
    <title> Creating Title Tags for Search Engine Optimization & Web Usability</title>
</head>
Search engine friendly page name - the name of the page used by search engines. If you enter nothing then the vendor page URL is formed using the vendor name. If you enter custom-seo-page-name, then the following custom the URL will be used:
http://www.yourStore.com/custom-seo-page-name
Assigning a Vendor to a Customer Record
This step is optional and is required only if you want your vendor to be able to login to his administration portal and manage products, orders, etc.
If you do not want vendors to have access to your site, ignore this step to enable the store owner manage all vendor mappings.
To register a vendor:
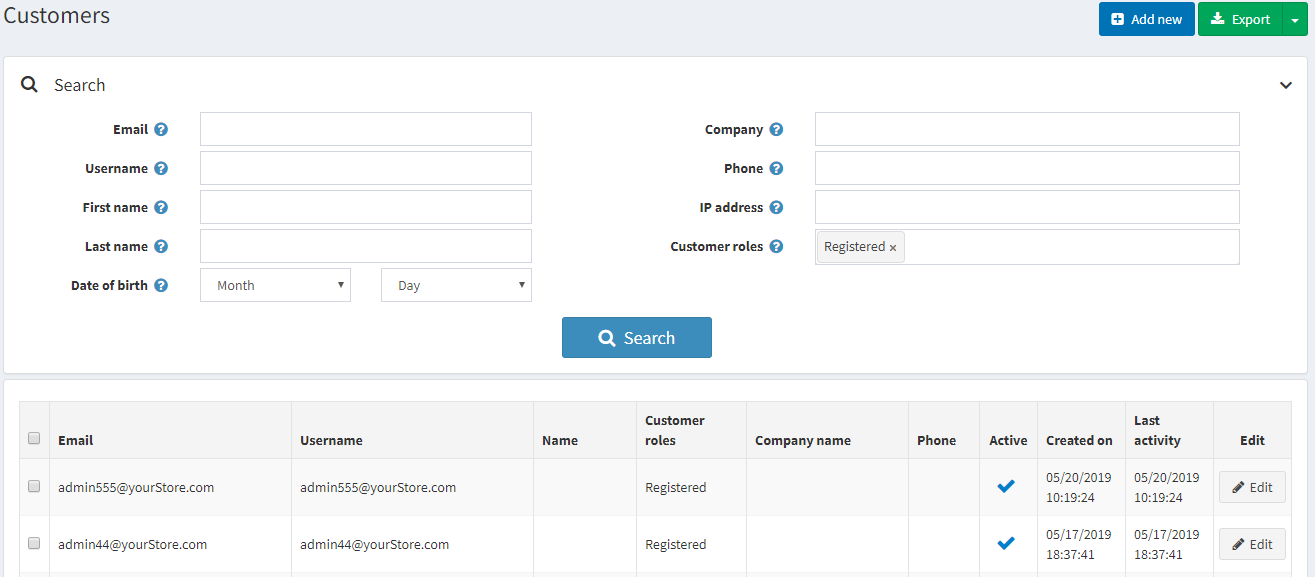
Go to Customers → Customers. The Customers window is displayed:
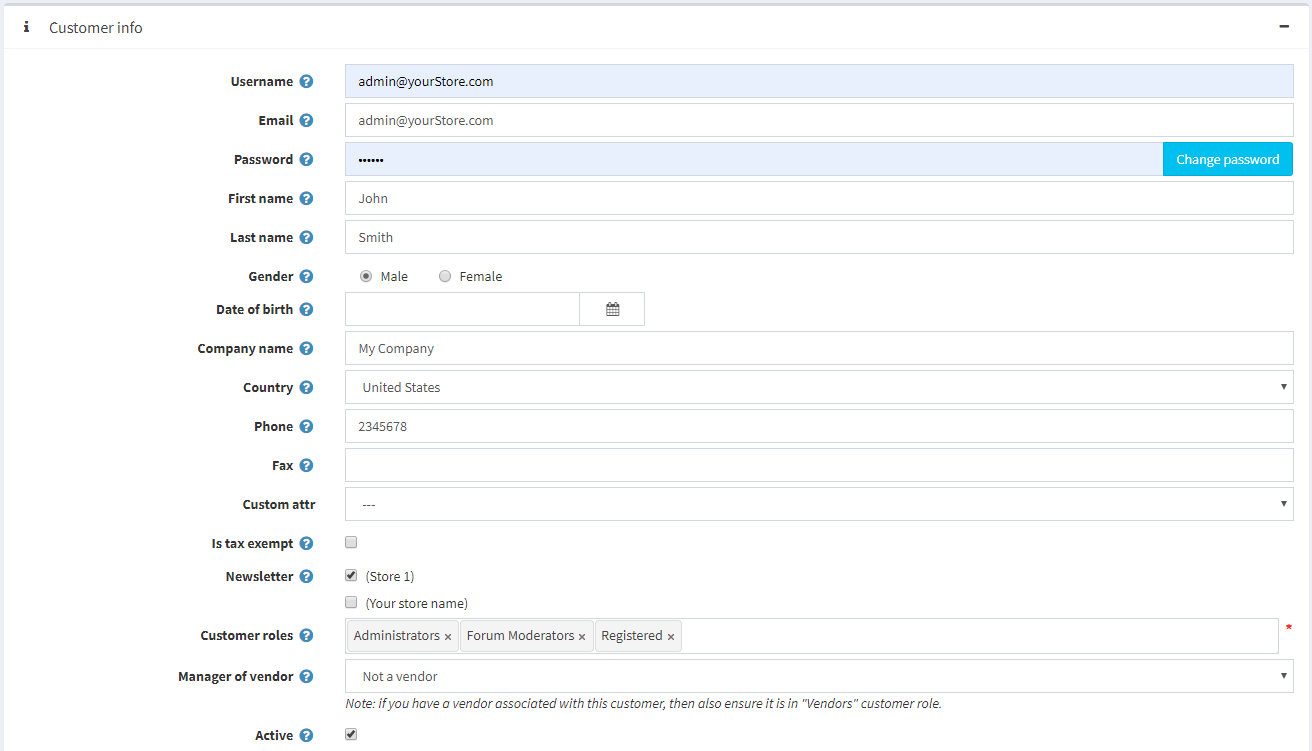
Click Edit beside the customer record you want to assign a vendor to. The Edit Customer window is displayed:
- On the Customer Info panel, select a vendor record previously created from Manager of Vendor dropdown list.
- Ensure the Vendors customer role is selected in the Customer Roles field.
Note
A Vendor customer account cannot have Administrators customer role (which is defined as the default).
After the vendor's customer account is set up, the vendor can use this customer account to manage his products, orders, shipments, and view reports. The Administration link at the top of the public store will be displayed after logging in.